First Mechanical Keyboard Build
TLDR
Built a 75% mechanical keyboard.
How It Started
I’ve always wanted to build my own keyboard.
My gateway to mechanical keyboards was the Corsair Vengeance K65 Compact with Cherry MX Red switches.
I bought the Corsair keyboard the beginning of 2016.
Back then I used to play osu! a lot
and the keyboard would help me press keys faster since it was a linear switch.
A couple of months later in 2016, I bought a Ducky One TKL which I’m still using to this day, even at this moment…
The Corsair keyboard might retire very soon as the right Ctrl and Shift
key are beginning to stick. I tried taking the Corsair apart because it might just need
lubricant but the switches are soldered to the PCB.
Anyway… I finally took the initiative and gathered everything to build my first keyboard.
Gathering Parts
Size
The first step of building a keyboard is to decide what size did I want my keyboard.
I prefer what I already have which is a ten keys less (TKL, 80%) keyboard. For my
first build I went for a 75% keyboard. It had the function keys and it removed some
unnecessary keys like PrtSc, ScrLk, and Pause.
I bought a Keychron V1 barebones kit with a knob. It had all the parts that I needed to build a keyboard and it is hot swappable (no soldering required).
The Keychron V1 came with:
- PCB
- Plate
- Foam (probably for noise)
- Silicone pad
- Case
- Preinstalled and lubed stabilizers
- USB C cables
- Misc stuff like keycap and switch pullers
Switches
The second and most important step of building a keyboard is deciding the type of switch you want. I wanted to use a tactile switch as I’m used to the bump. This keyboard was going to be used mainly for office work (coding) anyways.
I ordered a switch tester from Keychron. It took me a while to decide the best switch for typing. I ended up going for the Kailh Box Winter switches. The Kailh Box Winter switches had the lowest actuation force at 38±10 gf. This means that when you hit a key, it only requires around 38 grams-force.
Keycaps
And the final step is to buy keycaps. Keycaps come in many forms. Most keycaps are Cherry styled keycaps. I decided to buy the Kabuki-cho R2 base keycaps set from PBTFans. I was looking around for keycaps to buy and the Kabuki-cho R2 was in its final phase of getting released. I was playing the Yakuza series at the time and this set was an instant buy.
Putting the Pieces Together
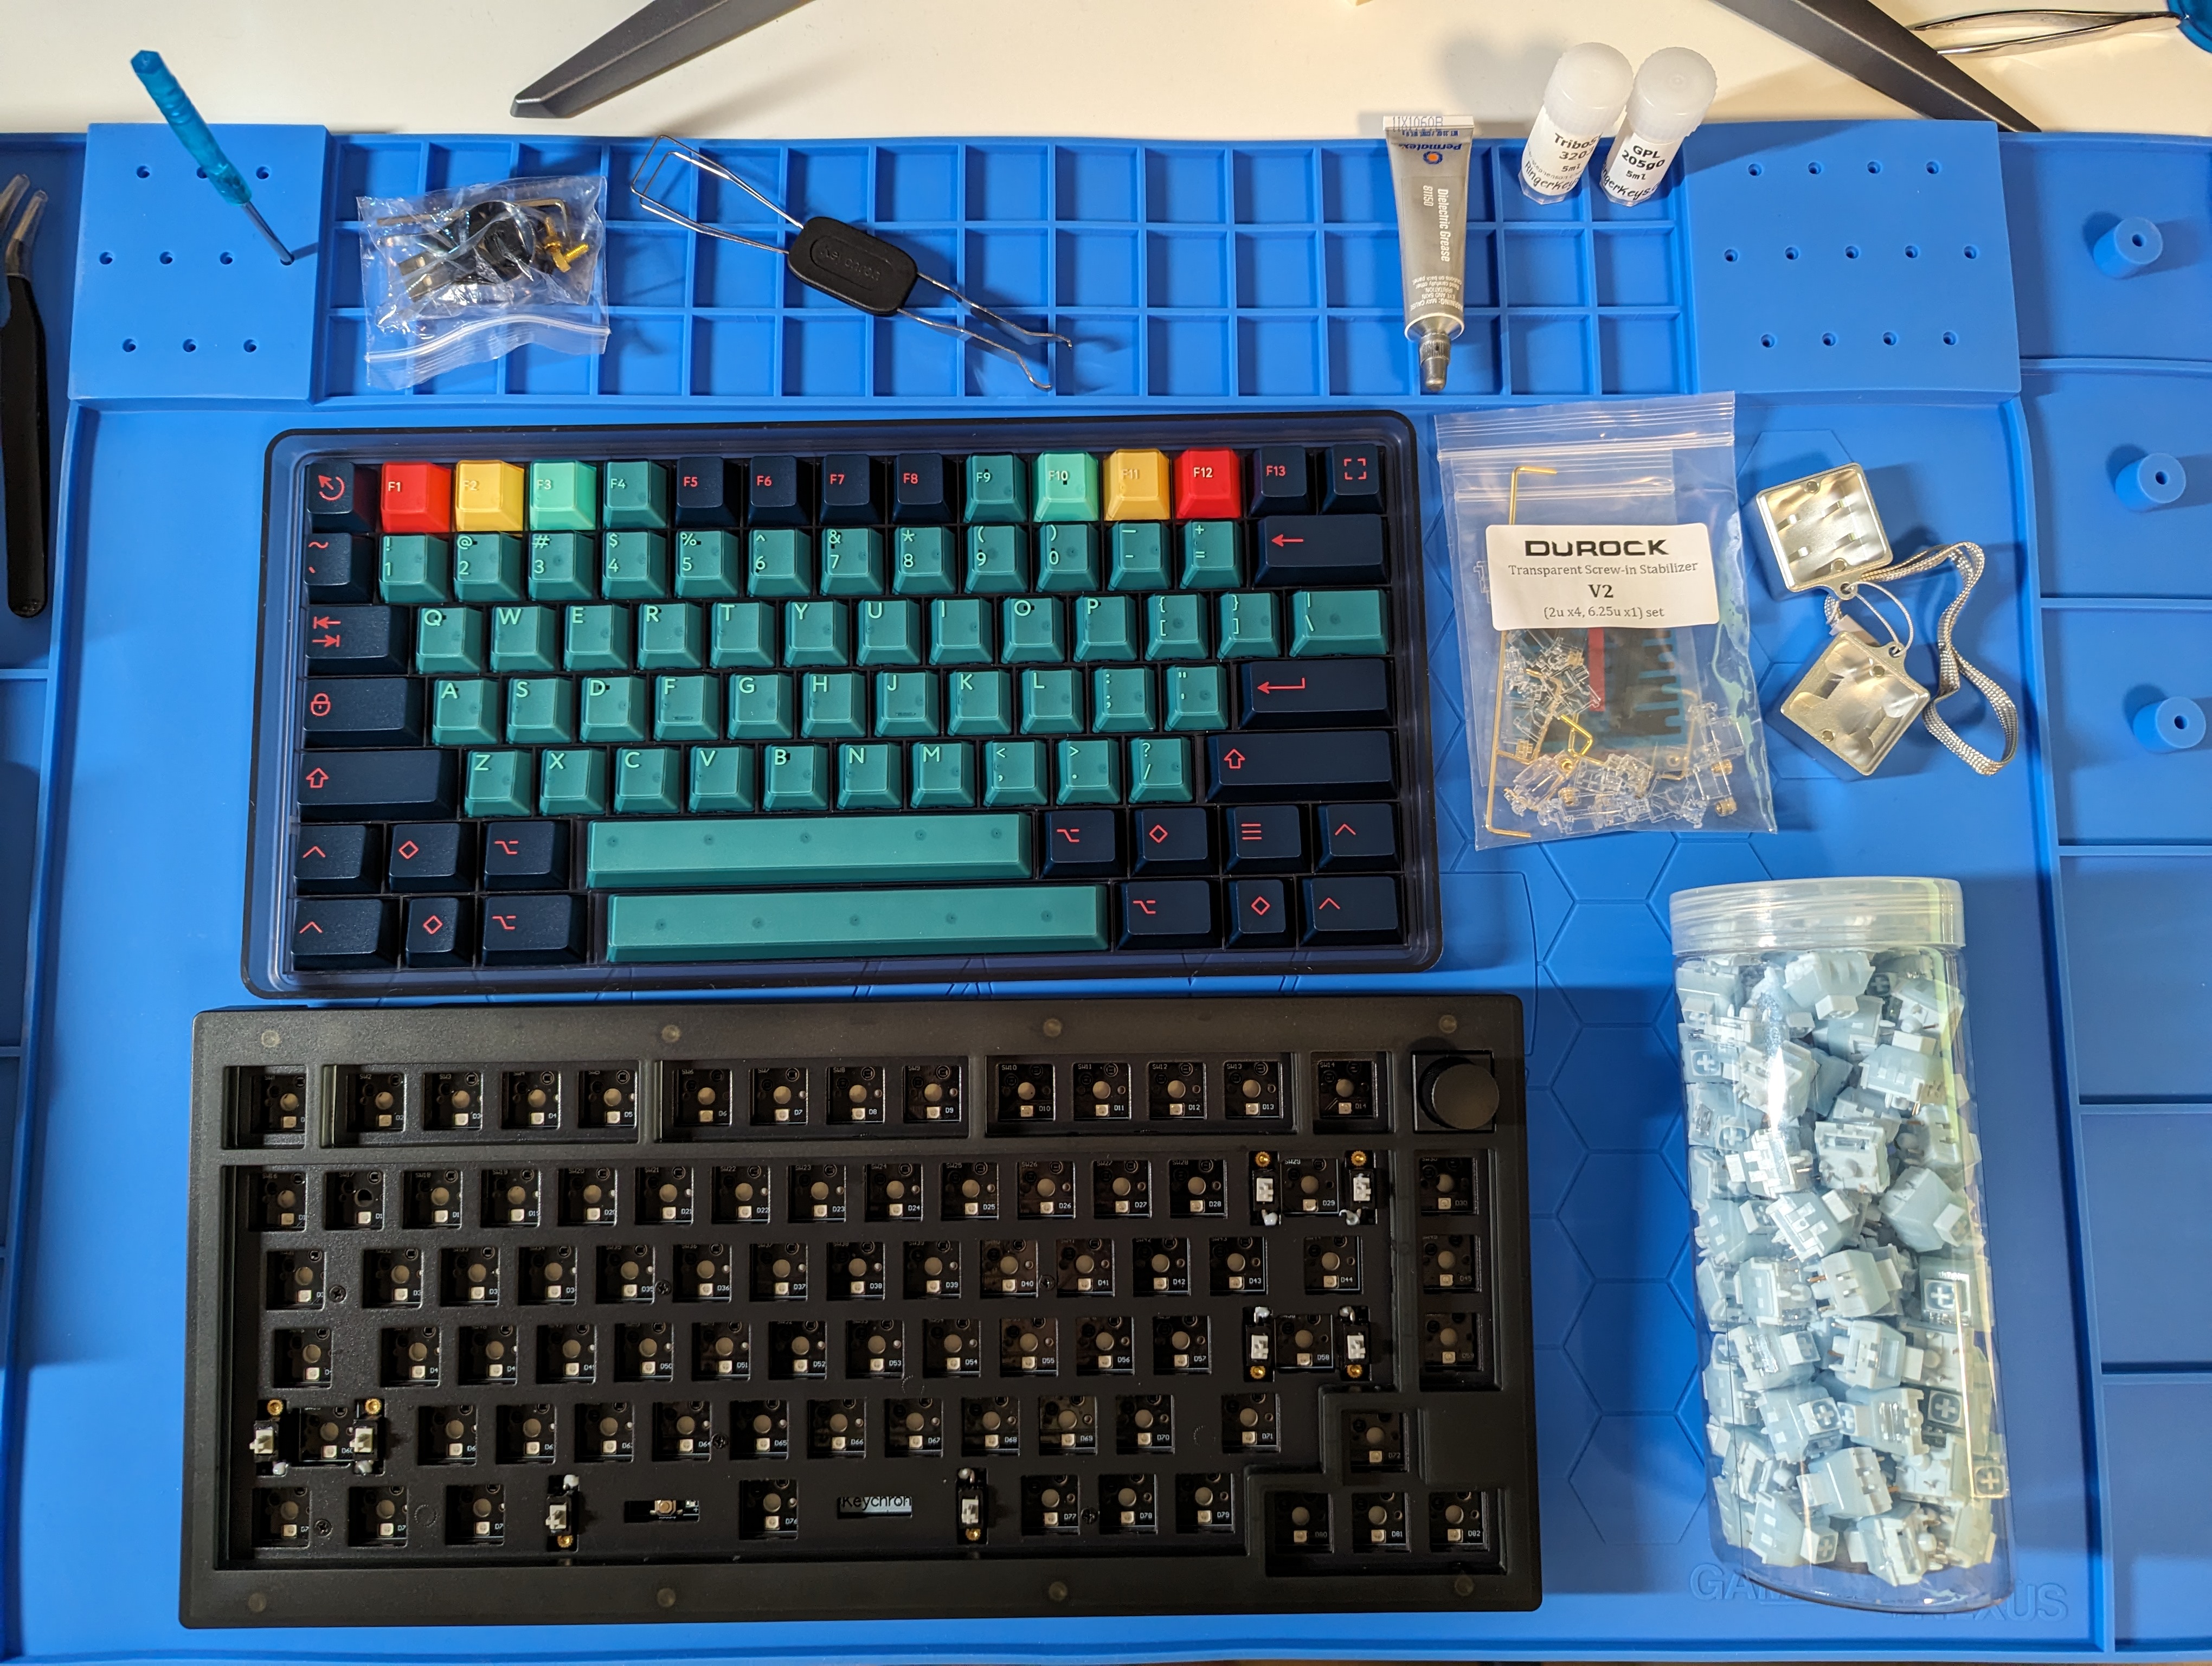
Time to get building! Or dismantling! I bought Durock V2 stabilizers to replace the preinstalled ones. I didn’t have to change the stabilizers, but since I was buying switches from AliExpress, why not.
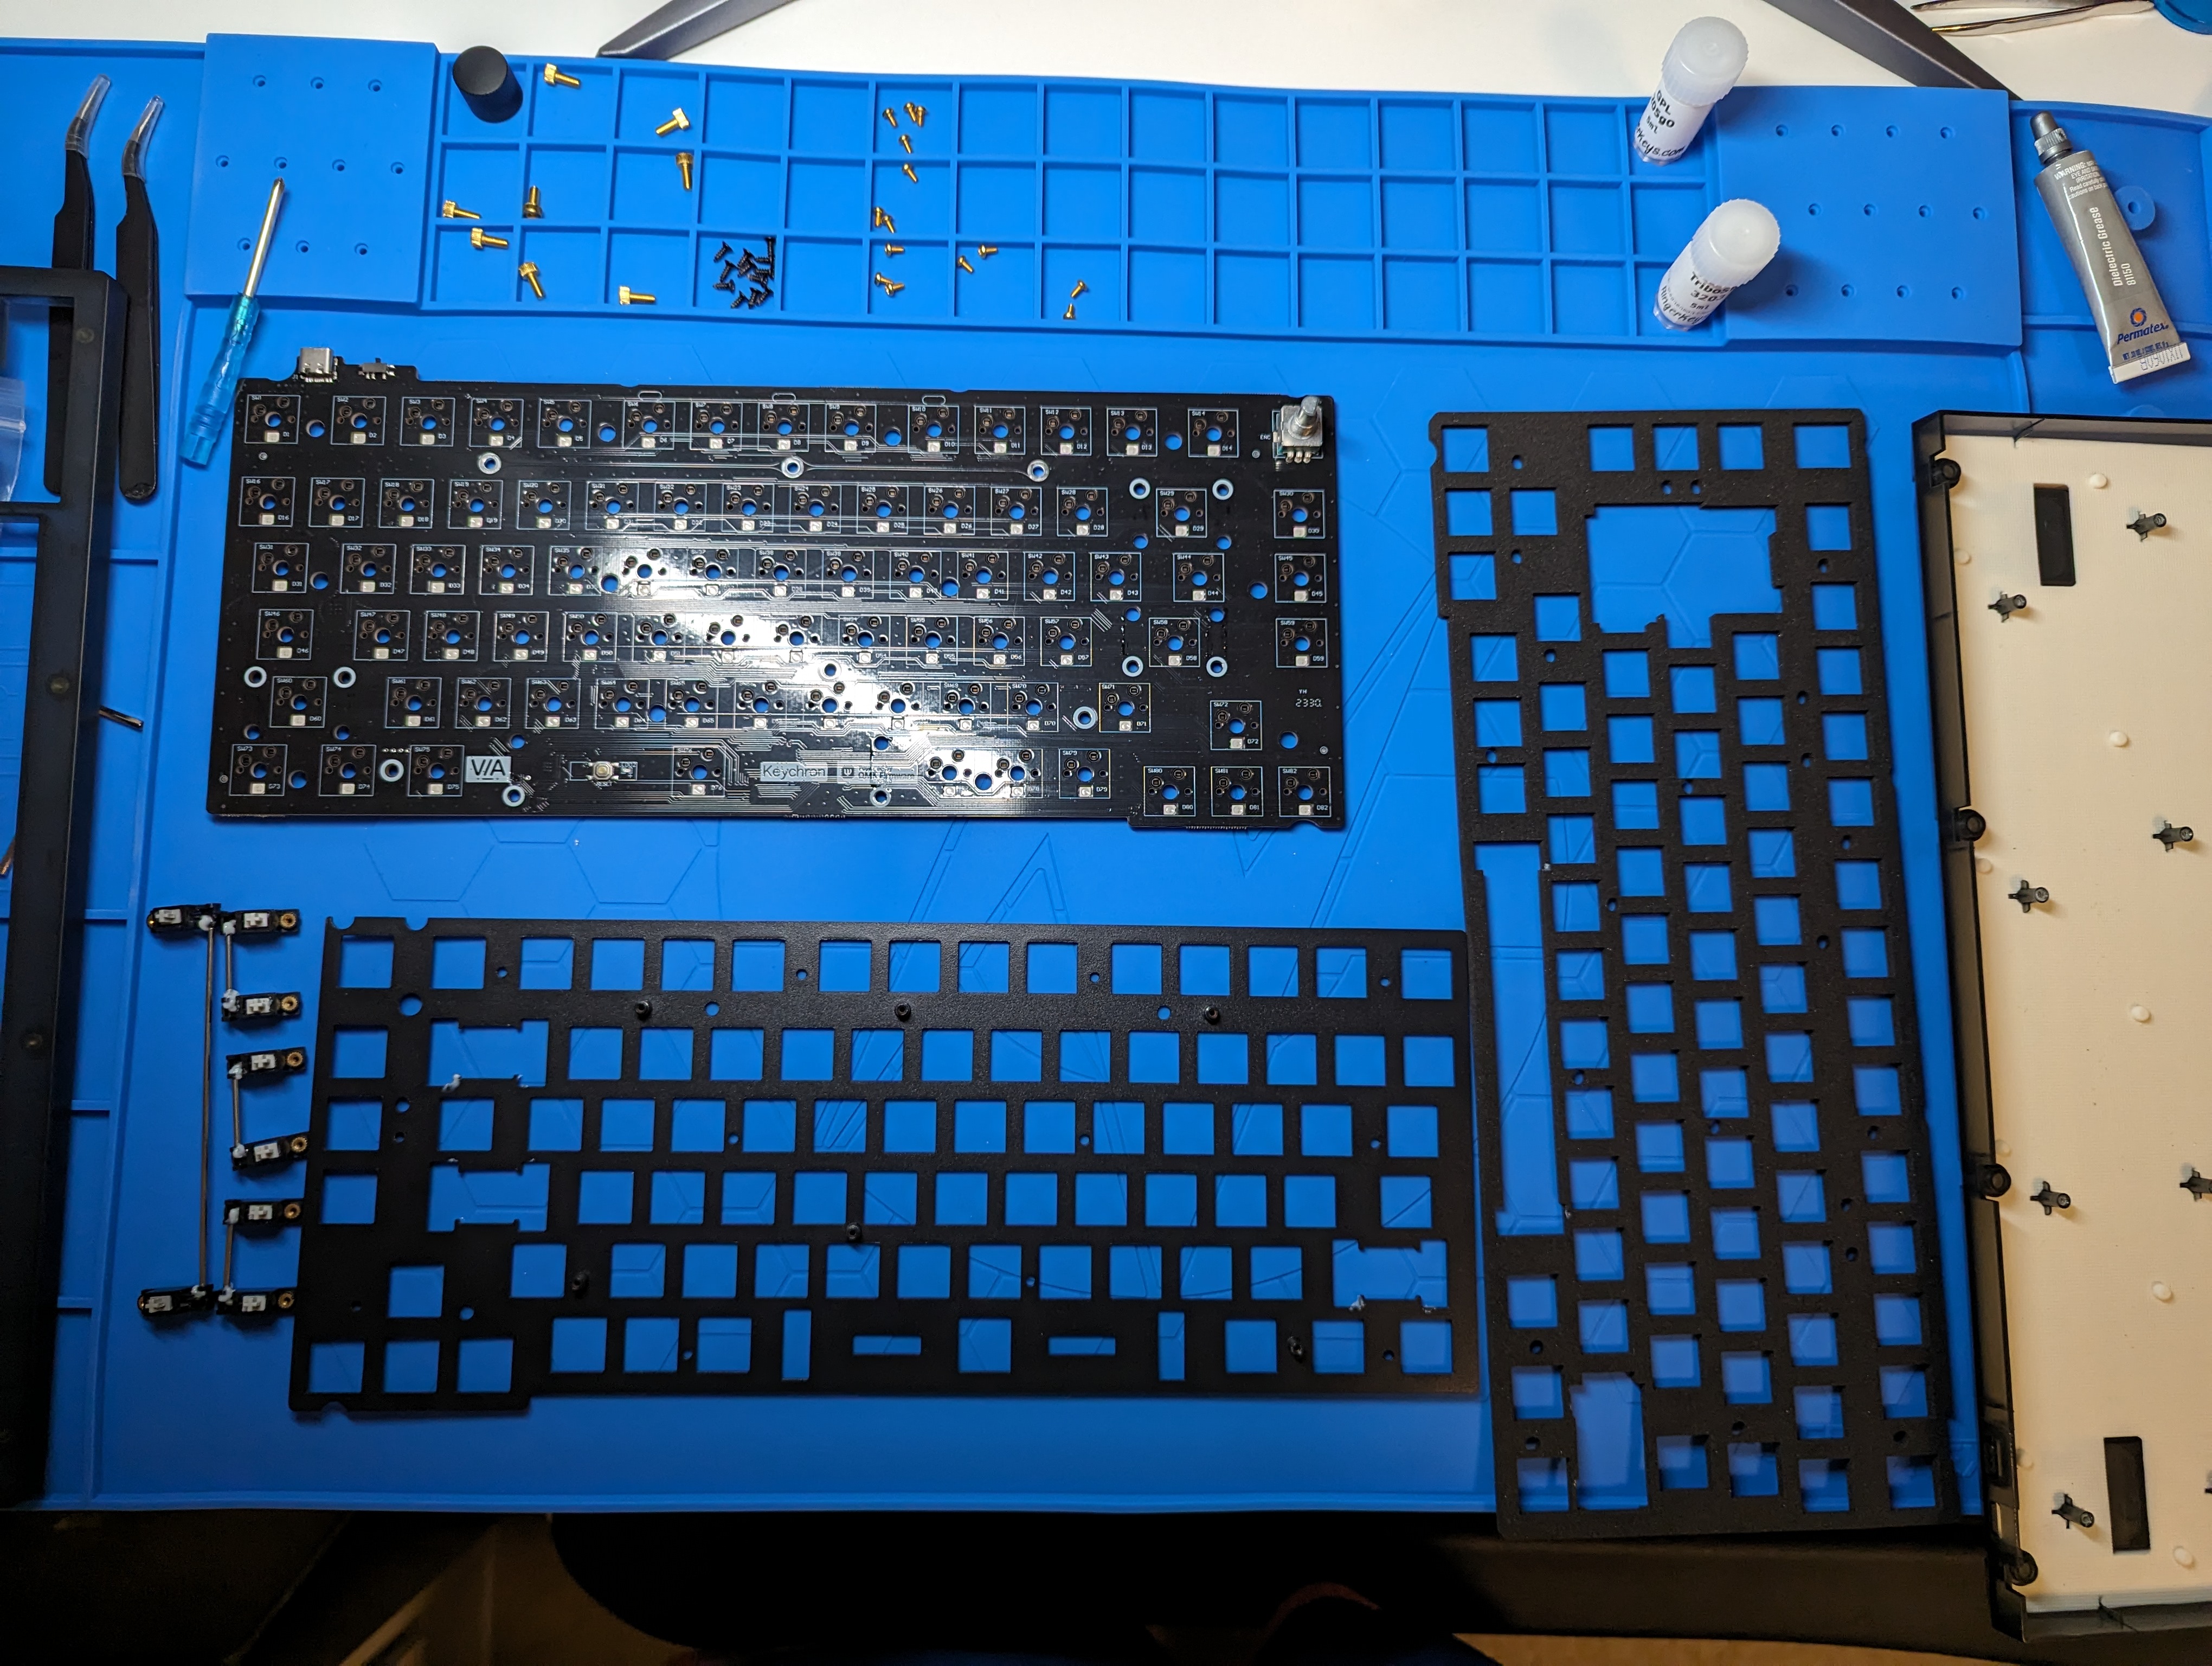
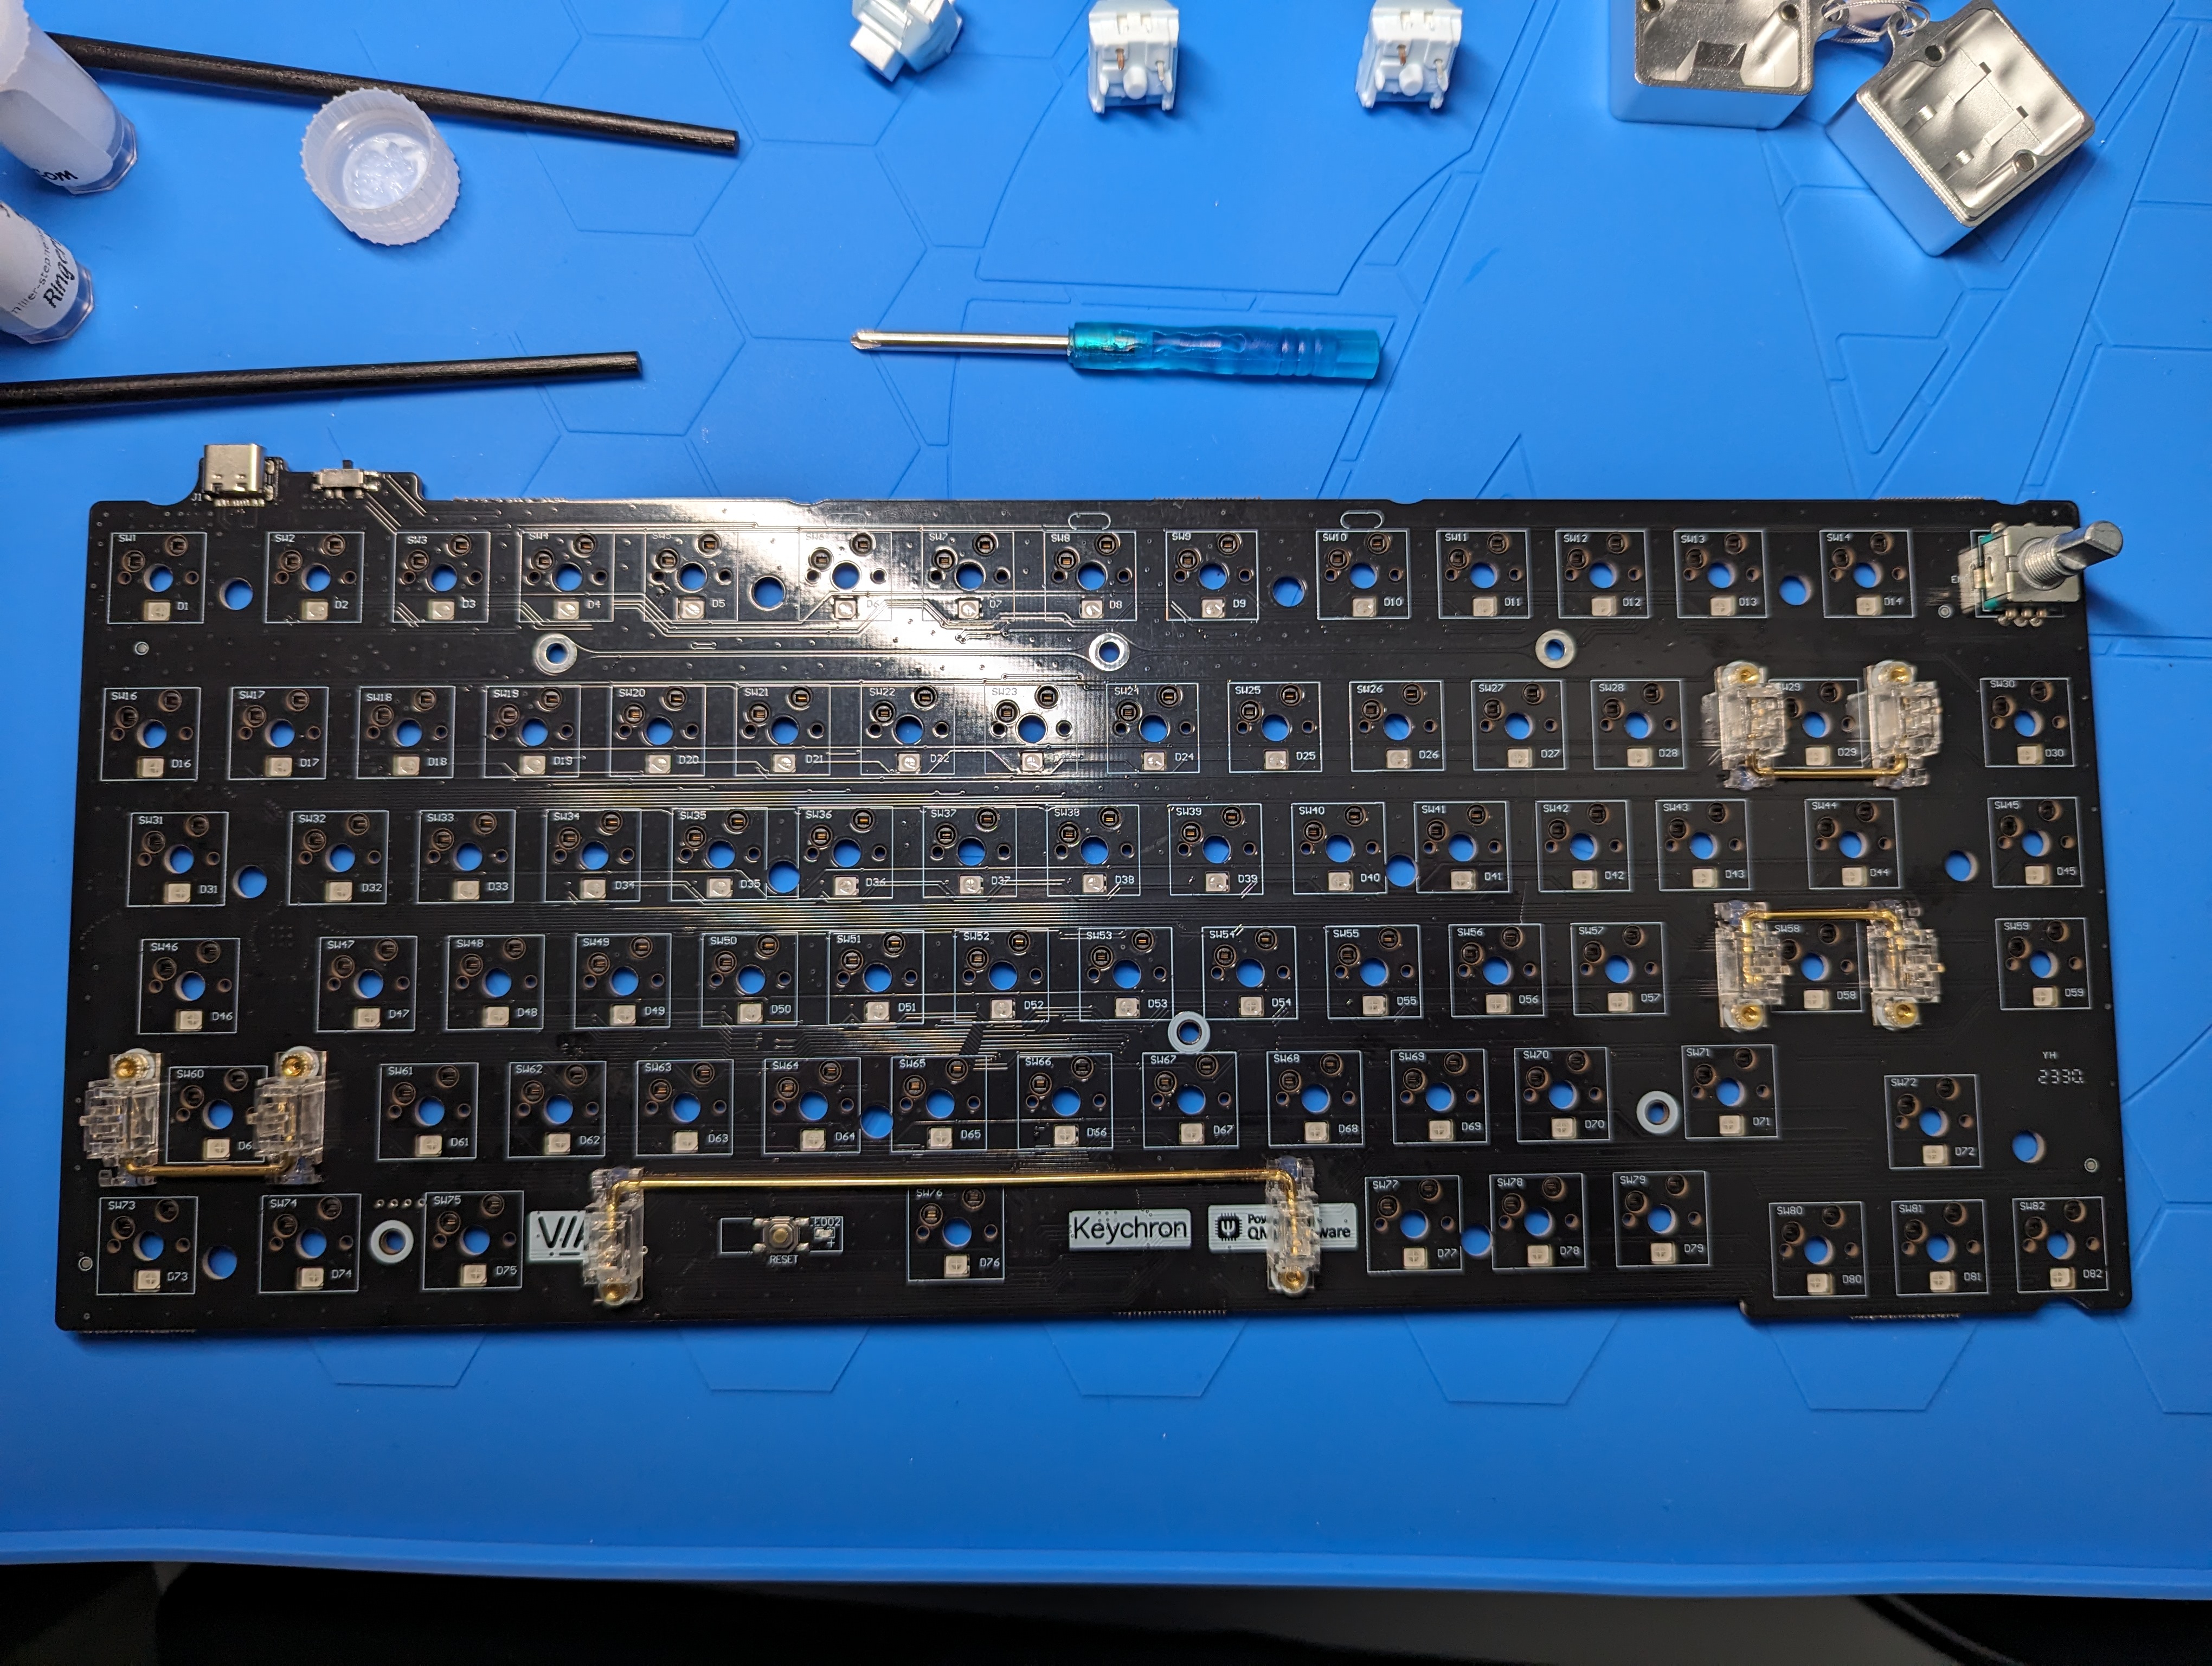
On the left, it shows a fully dismantled Keychron V1. On the right image is when I installed the Durock stabilizers to the PCB. I self lubed the Durock stabilizers with Krytox GPL-205 for the stem and Permatex dielectric grease for the wires.
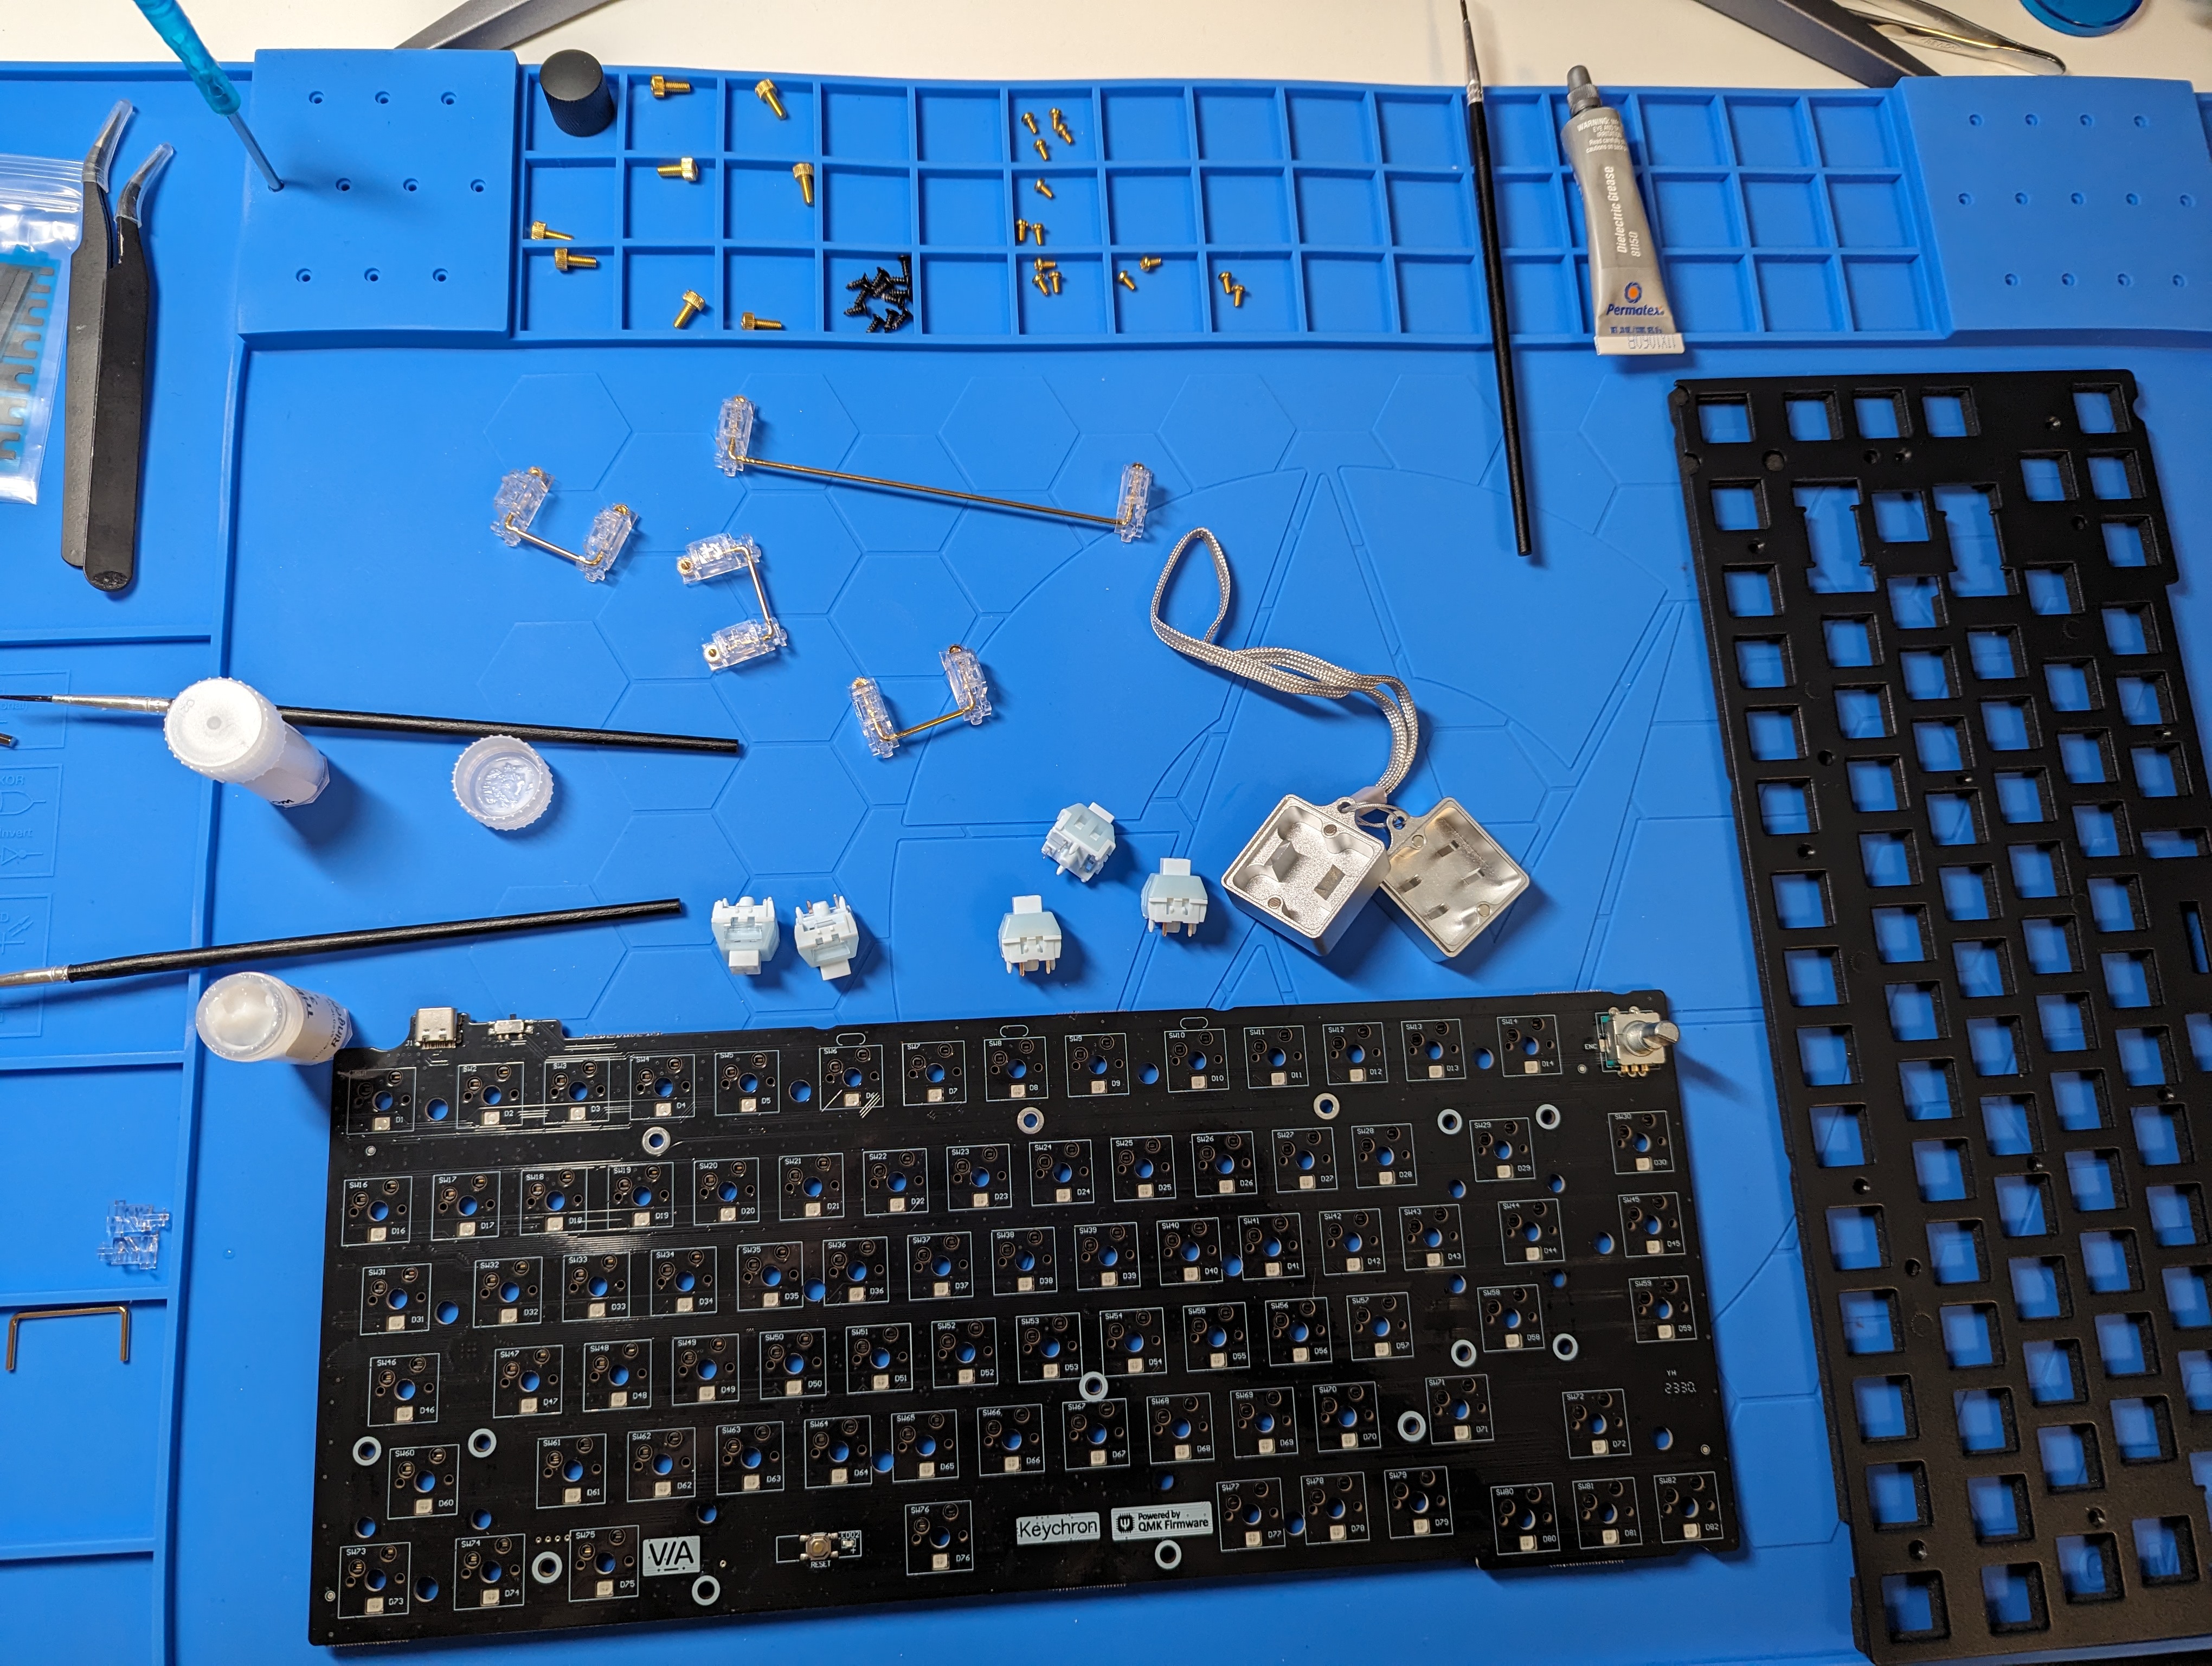
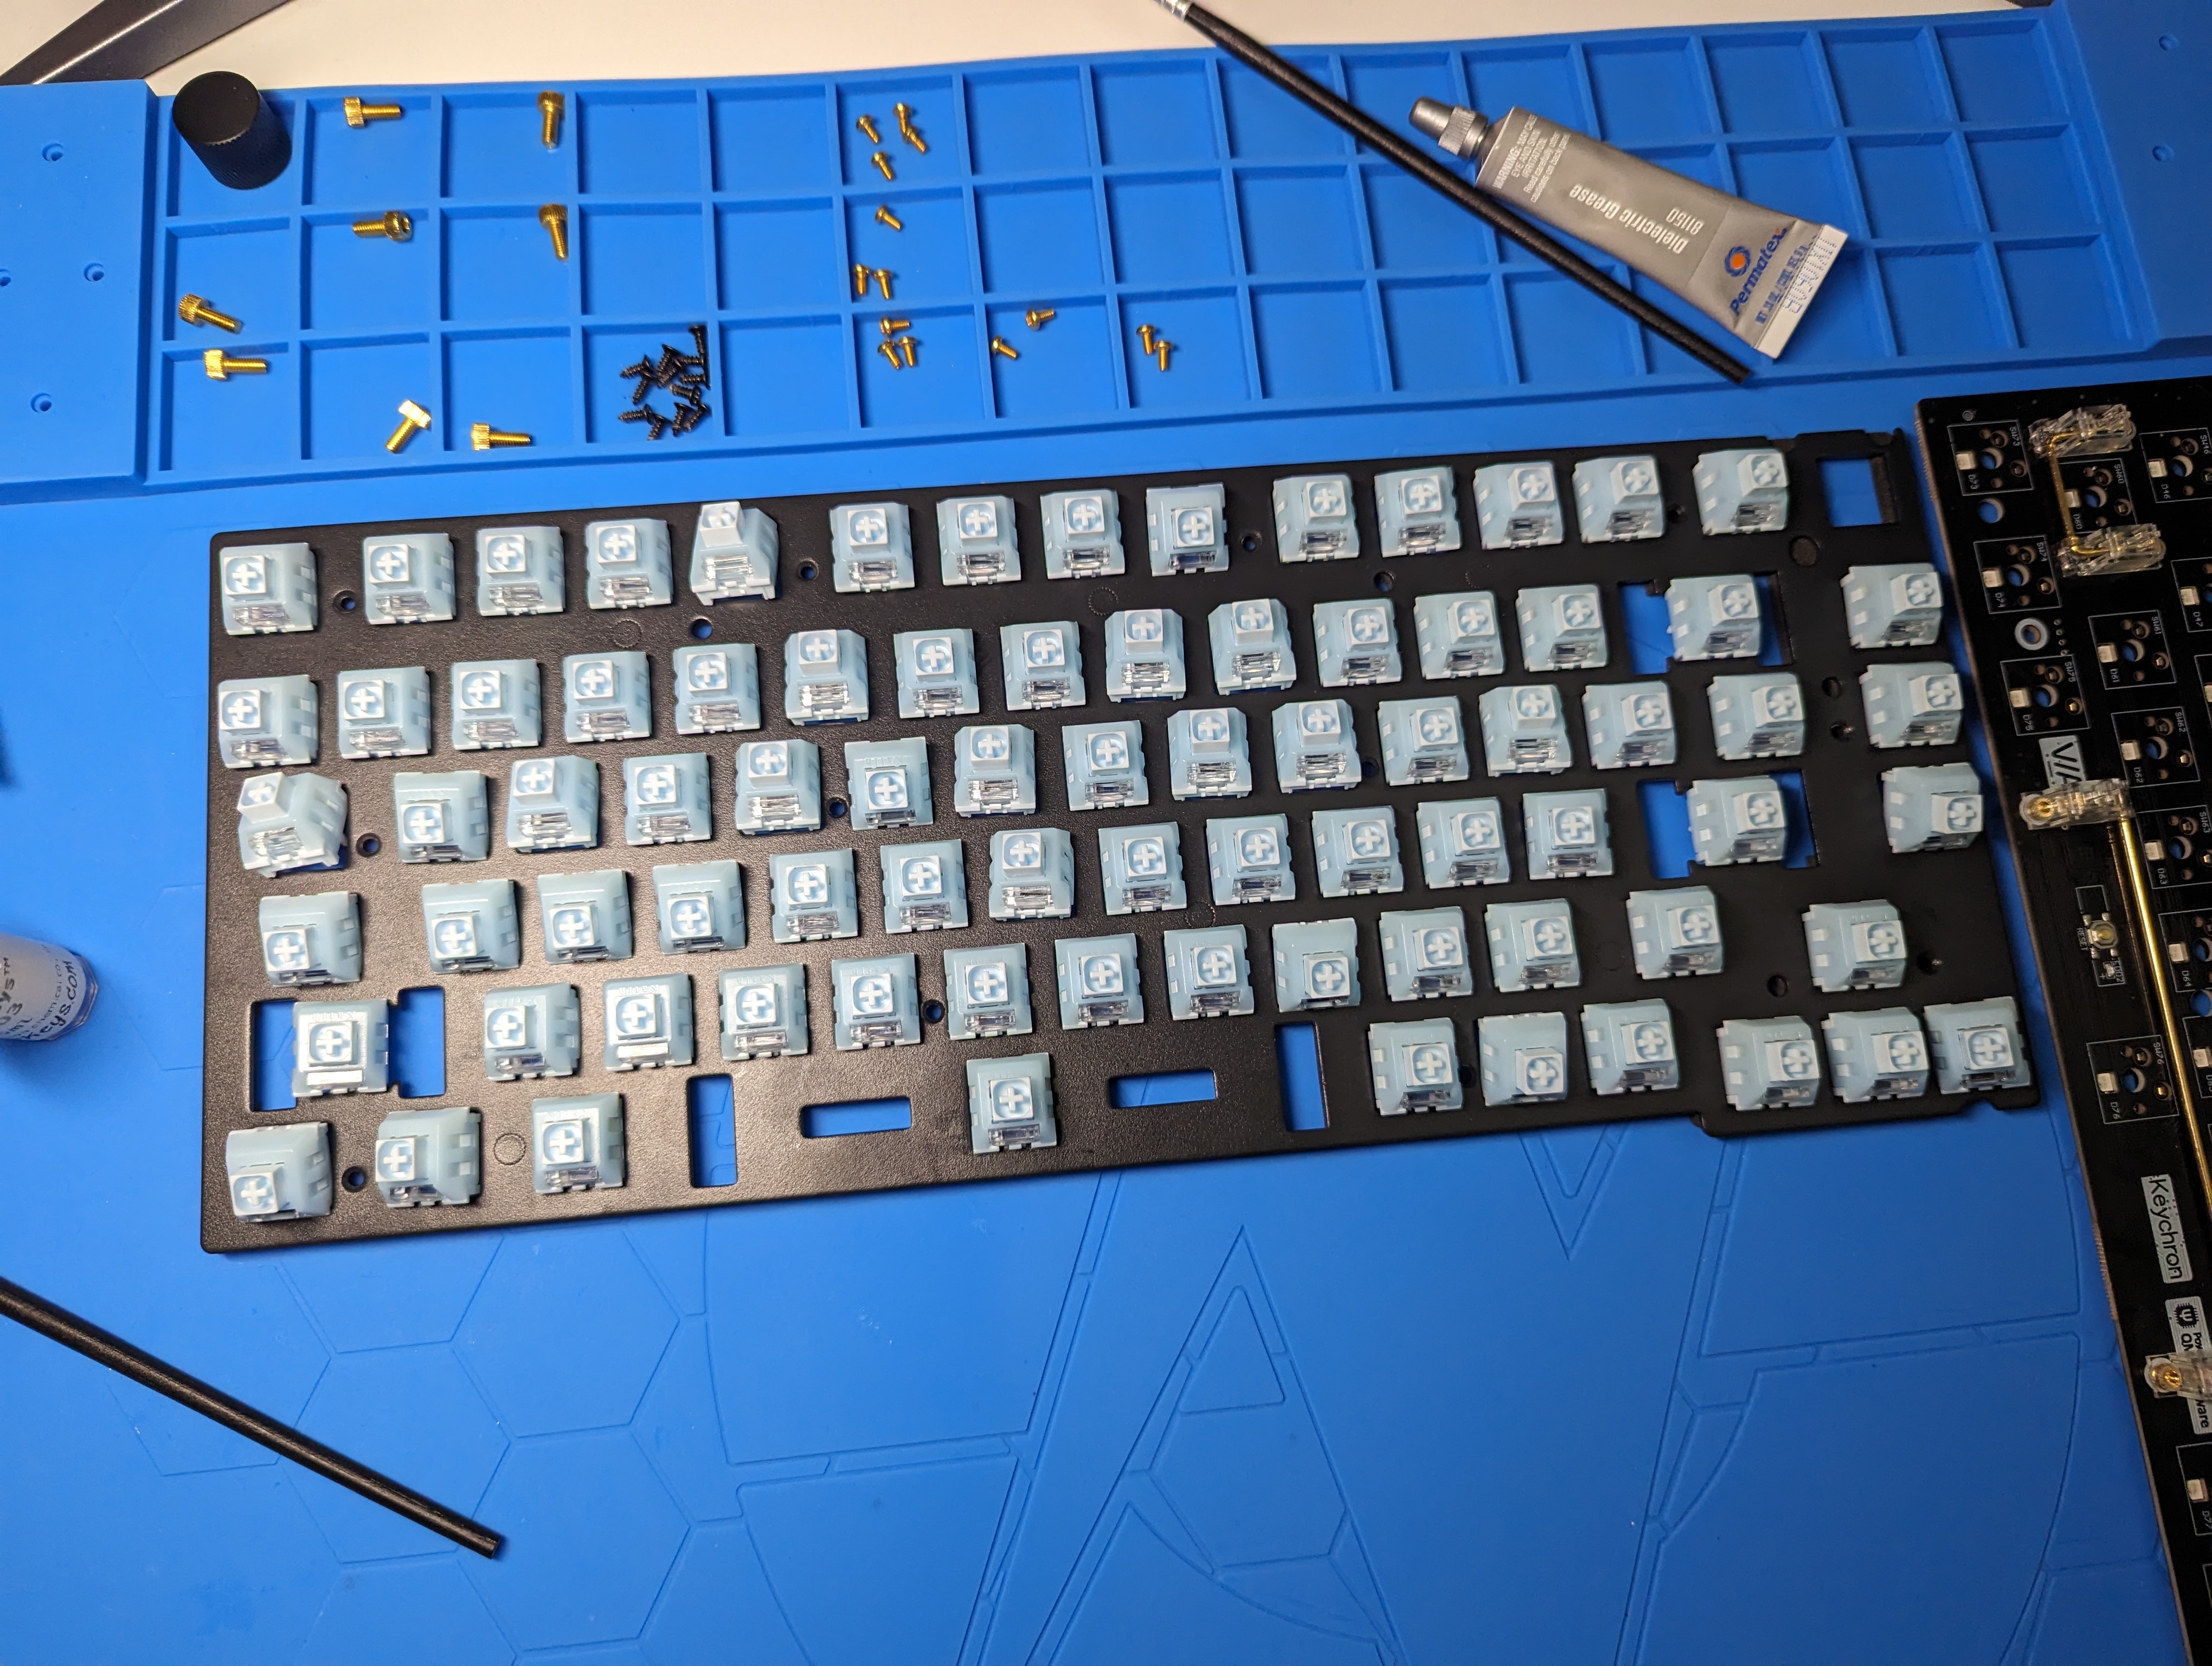
The next step is the endless step of lubing all the Kailh Box Winter switches. The Kailh Winter switches already came prelubed, but it wasn’t distributed well. I also wanted to lube the switches because that’s just part of the hobby! I lubed the switches with Tribosys 3203. The only was the stem’s sides and barely the spring.
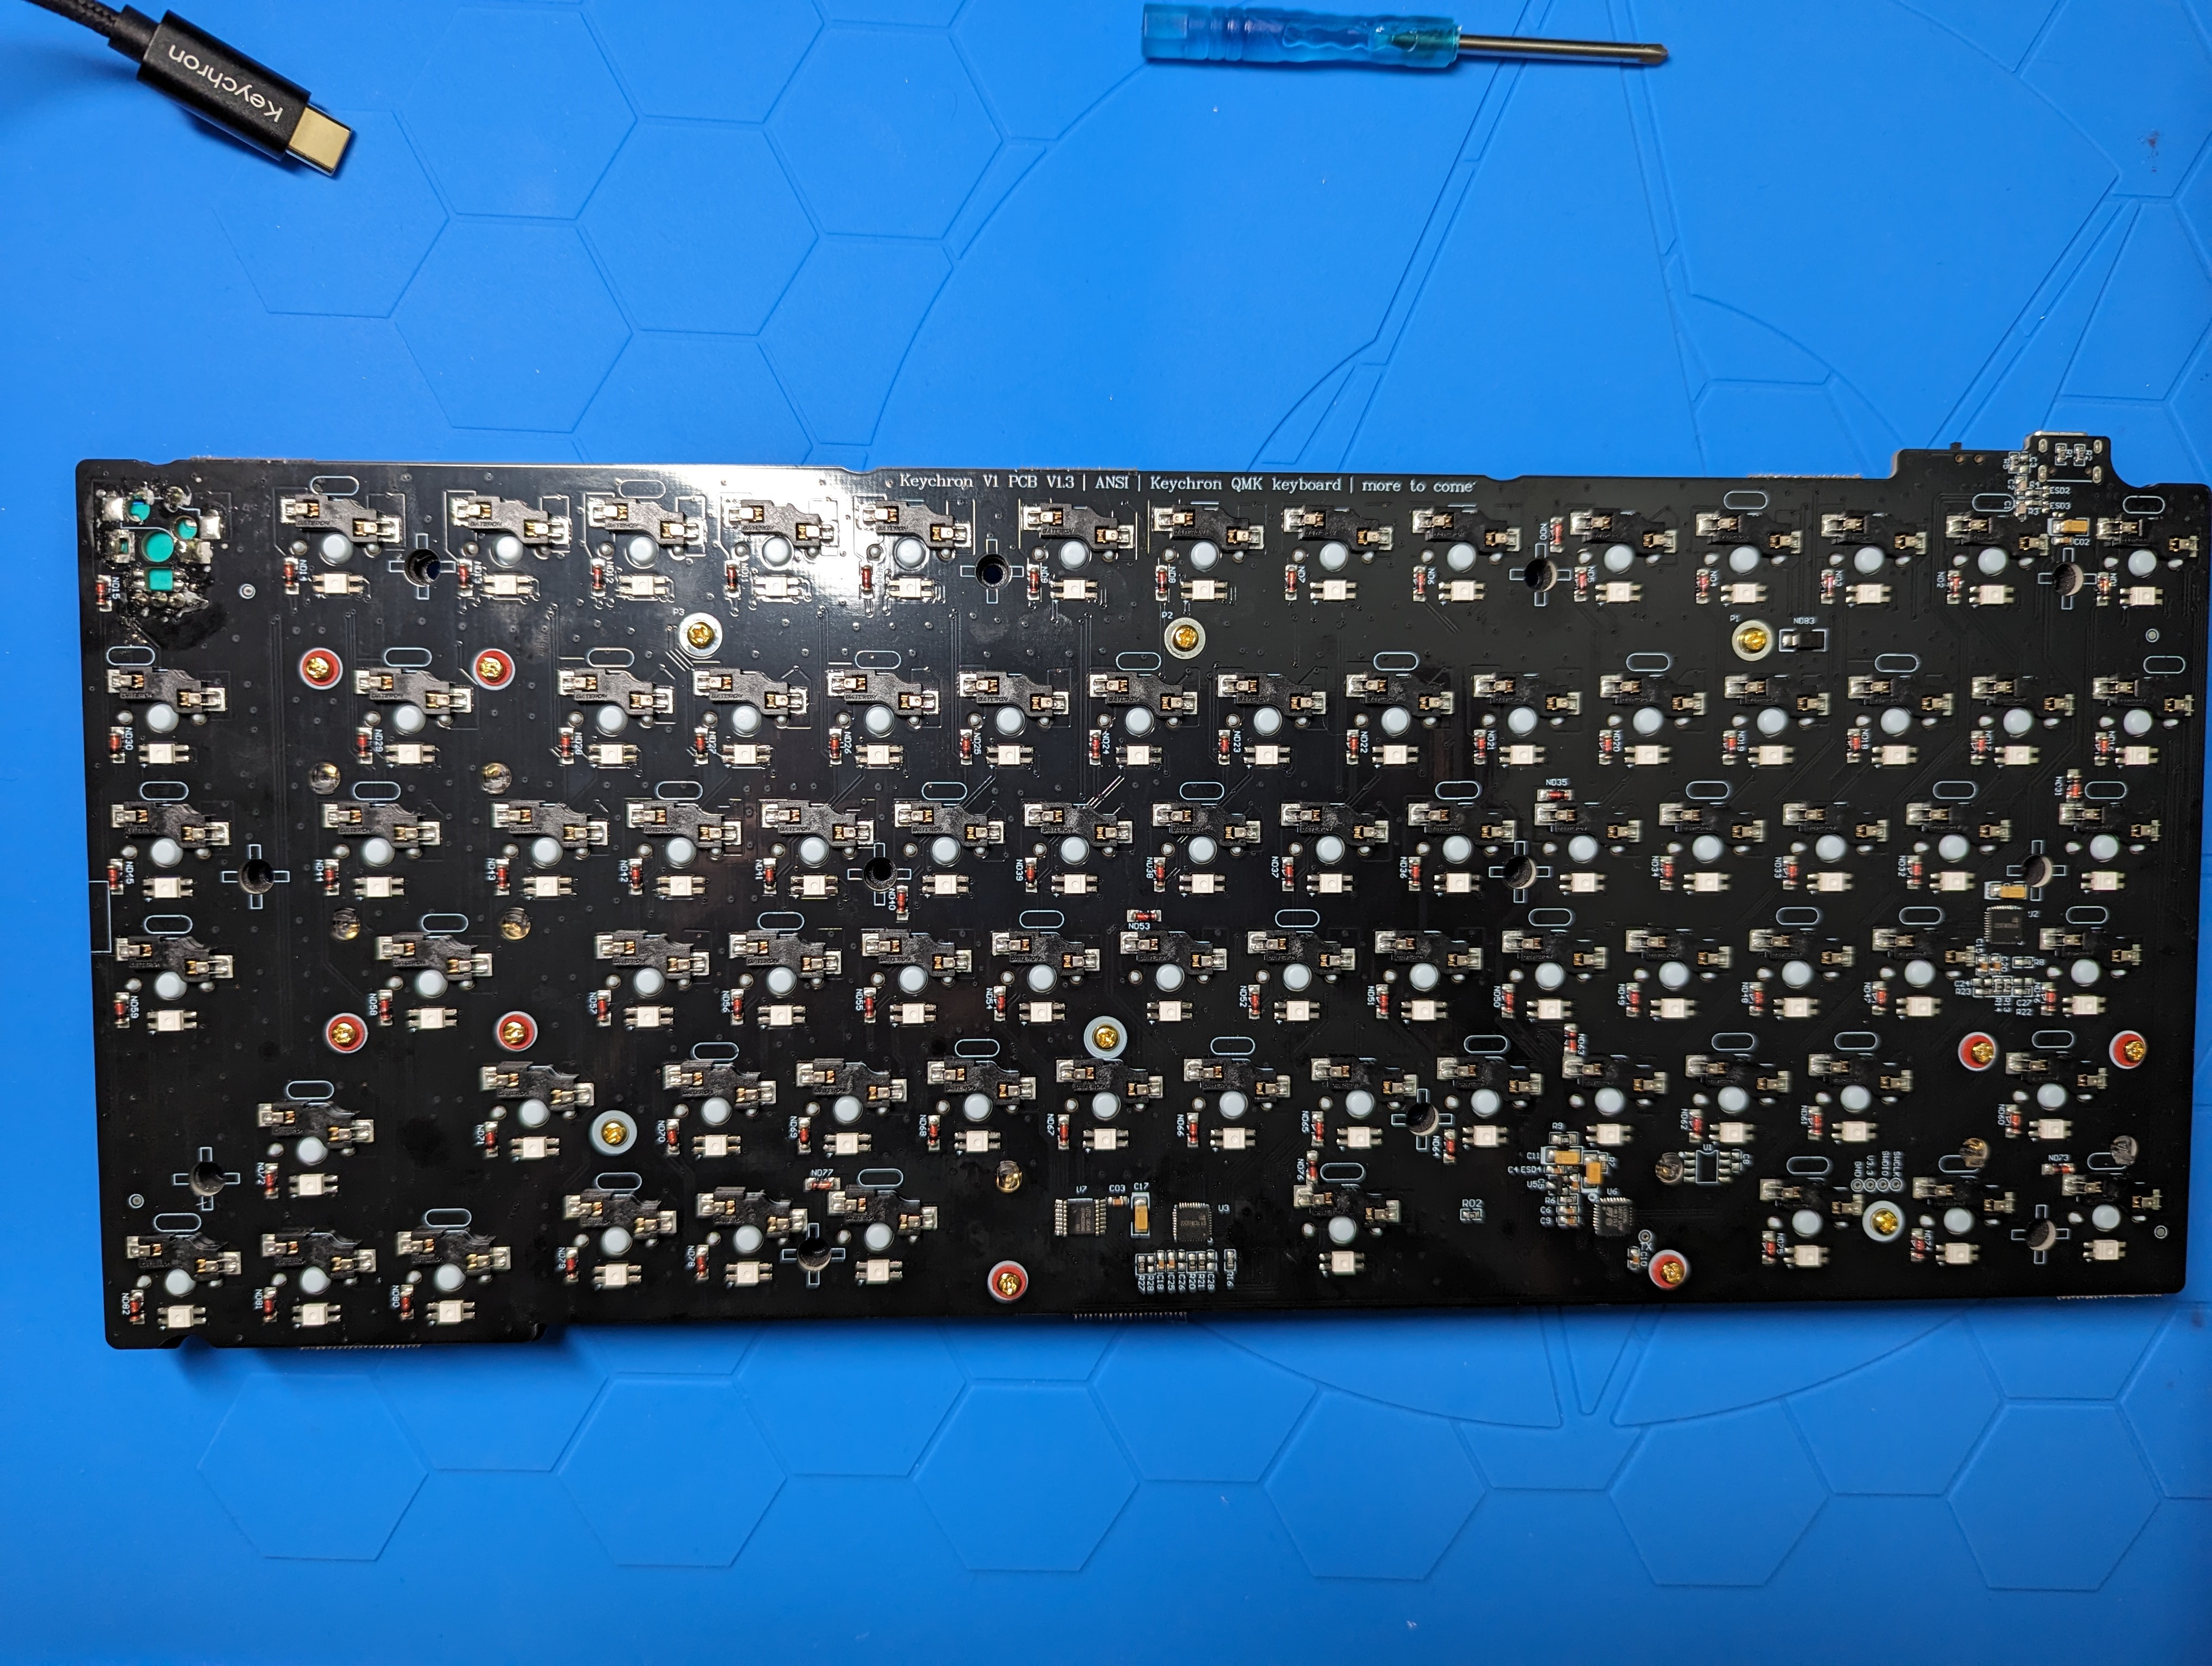
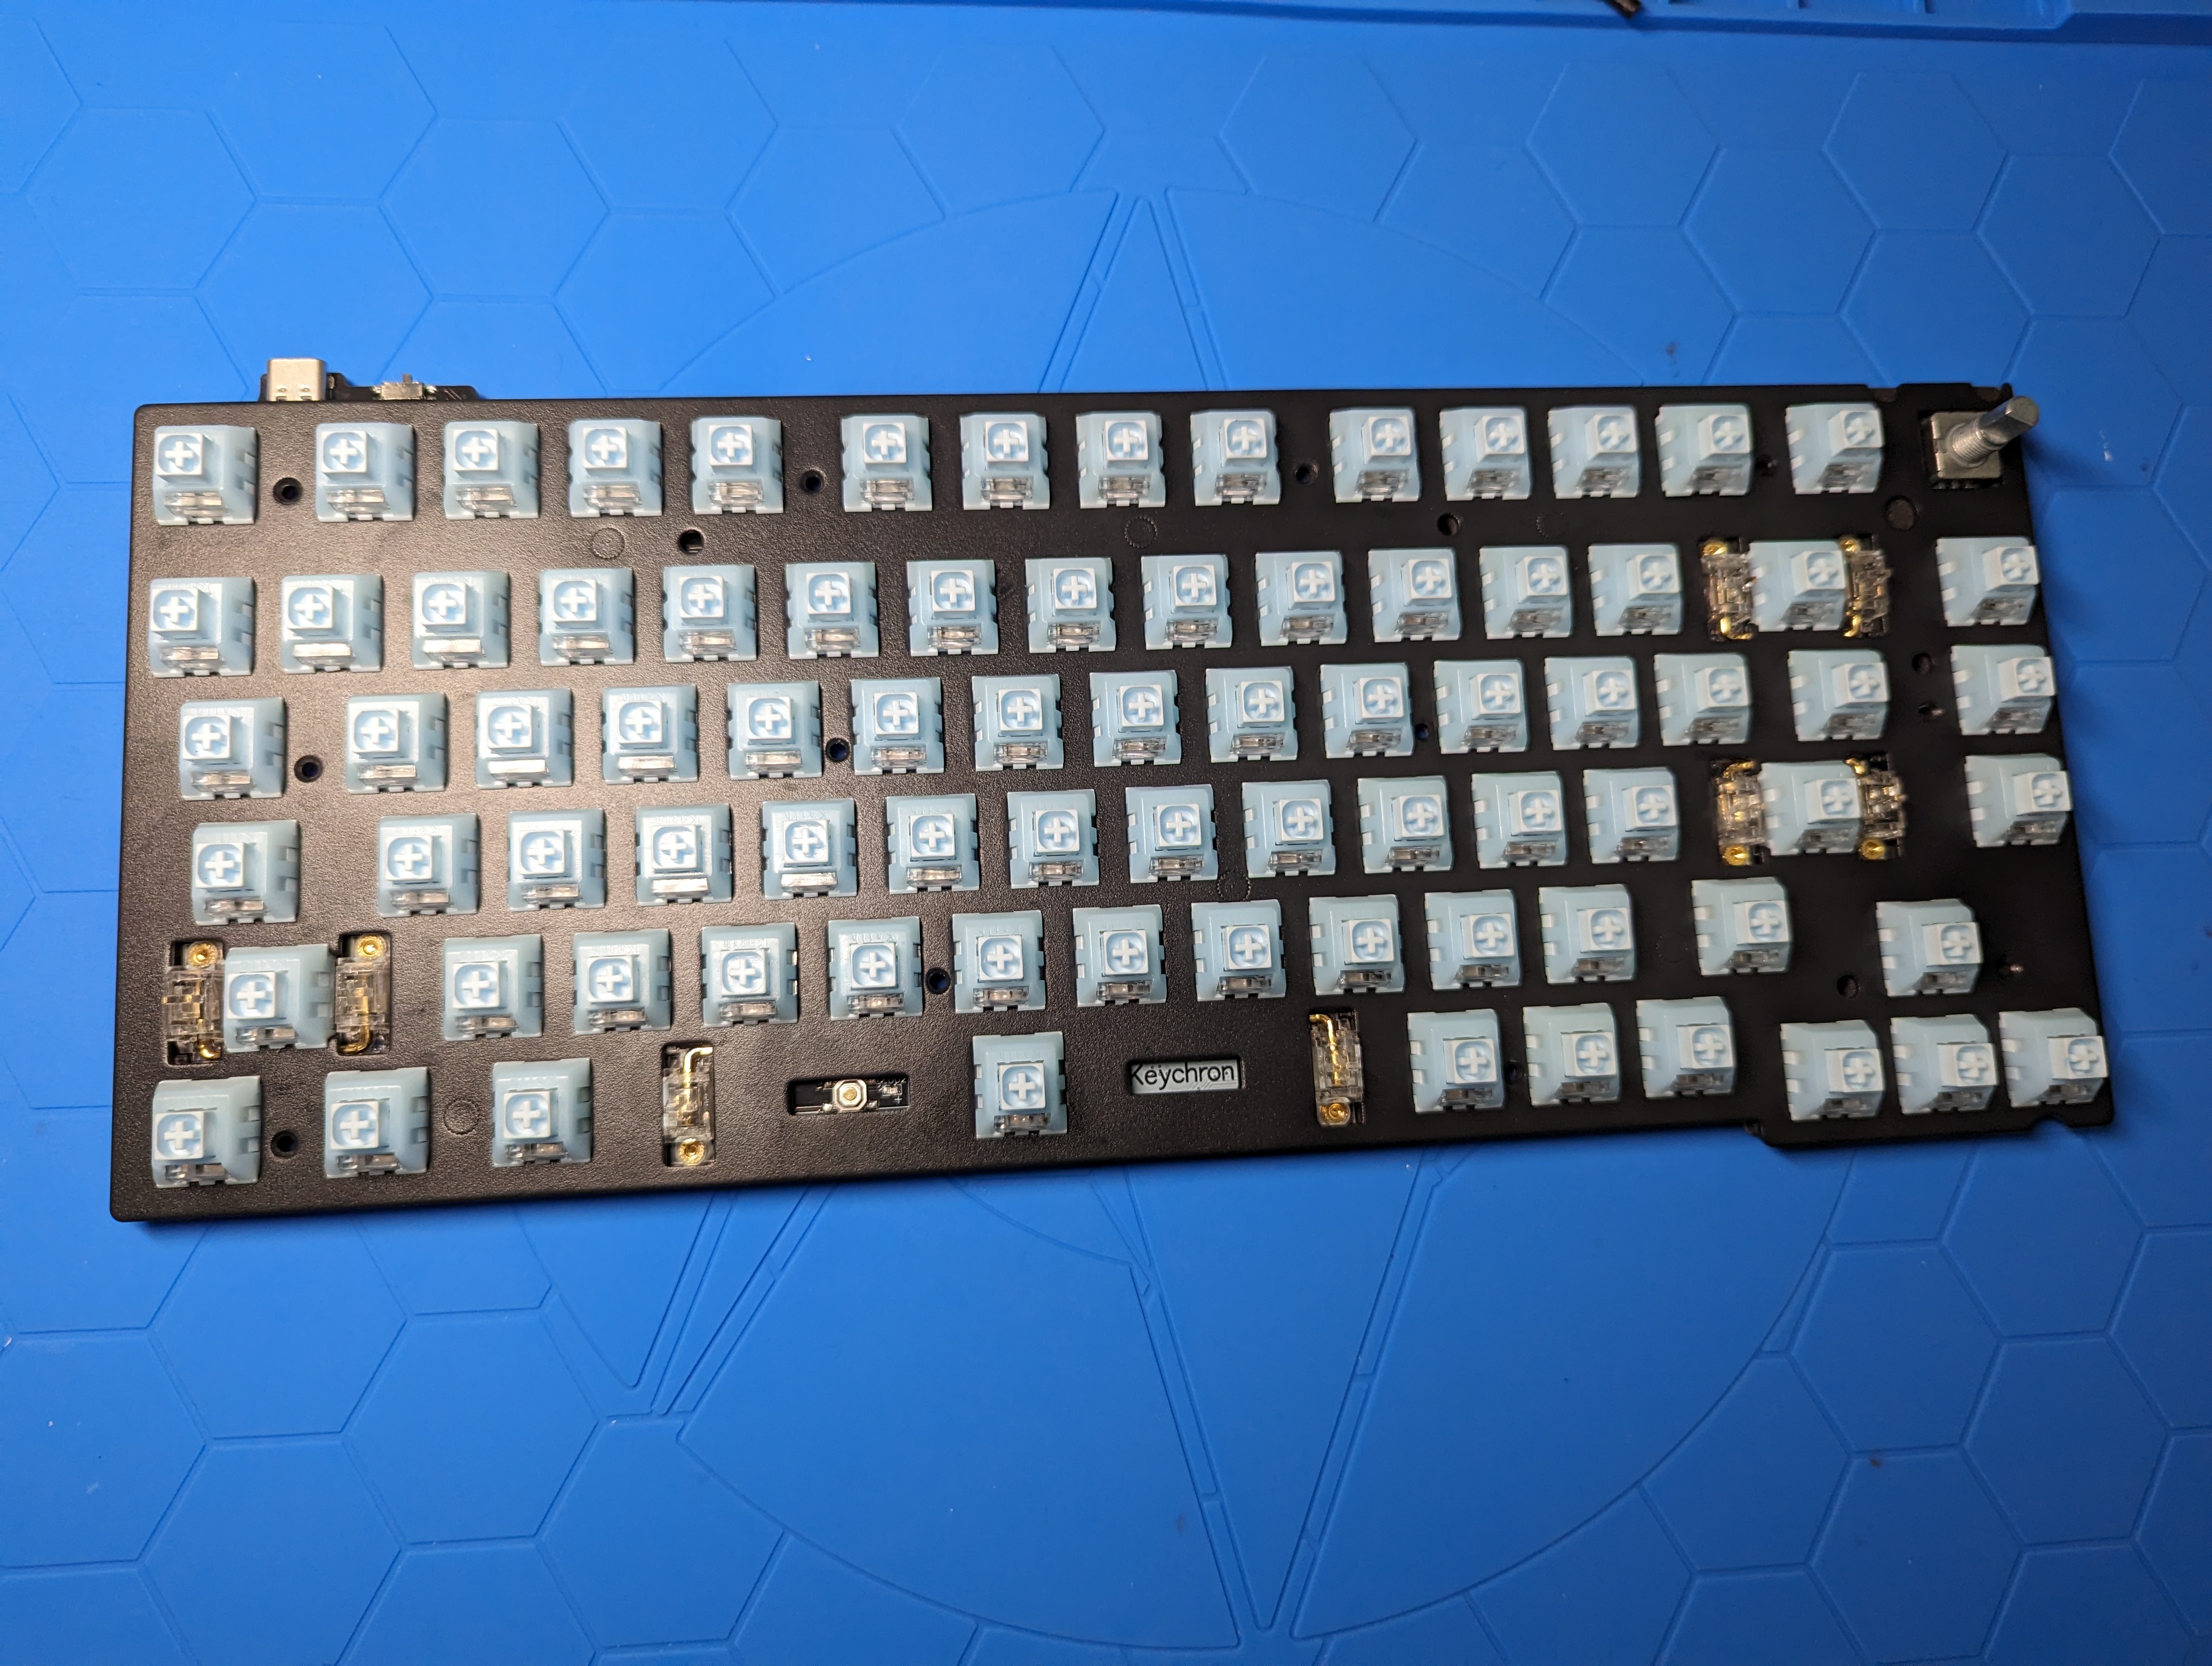
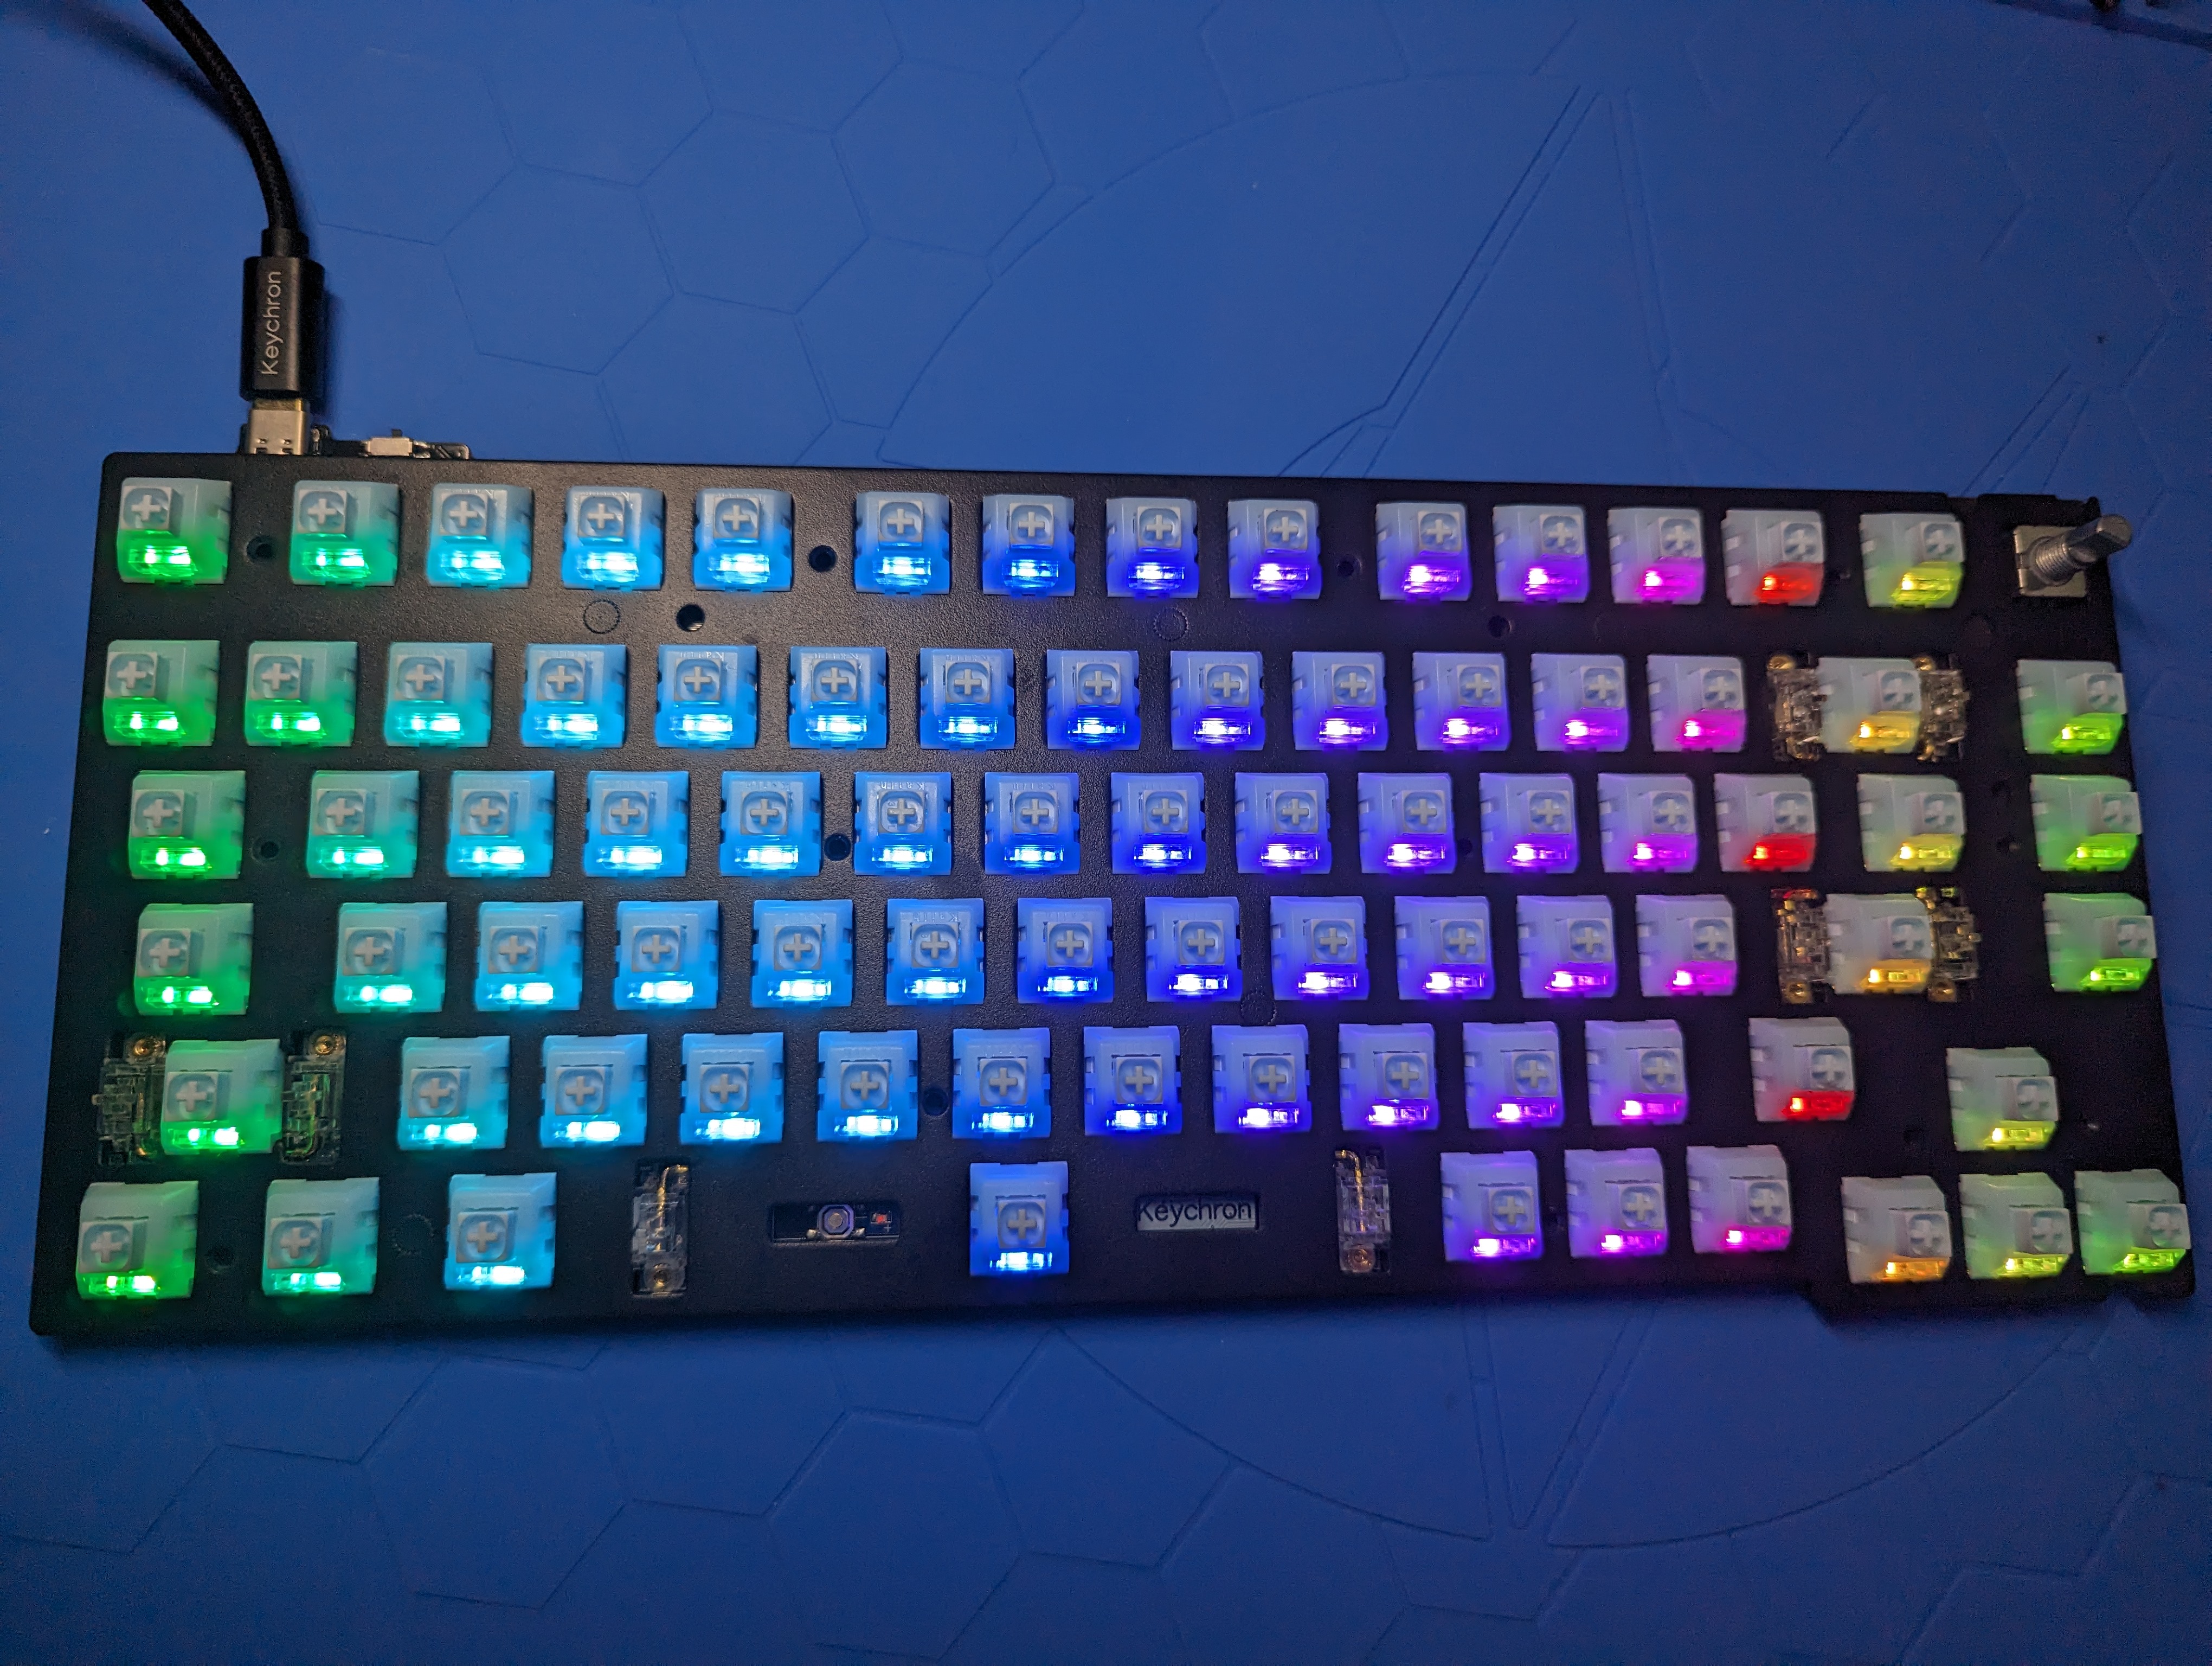
Snapped those switches onto the PCB. And screw the plate back on. Testing that all the wiring is correct. Was blinded by the RGB.
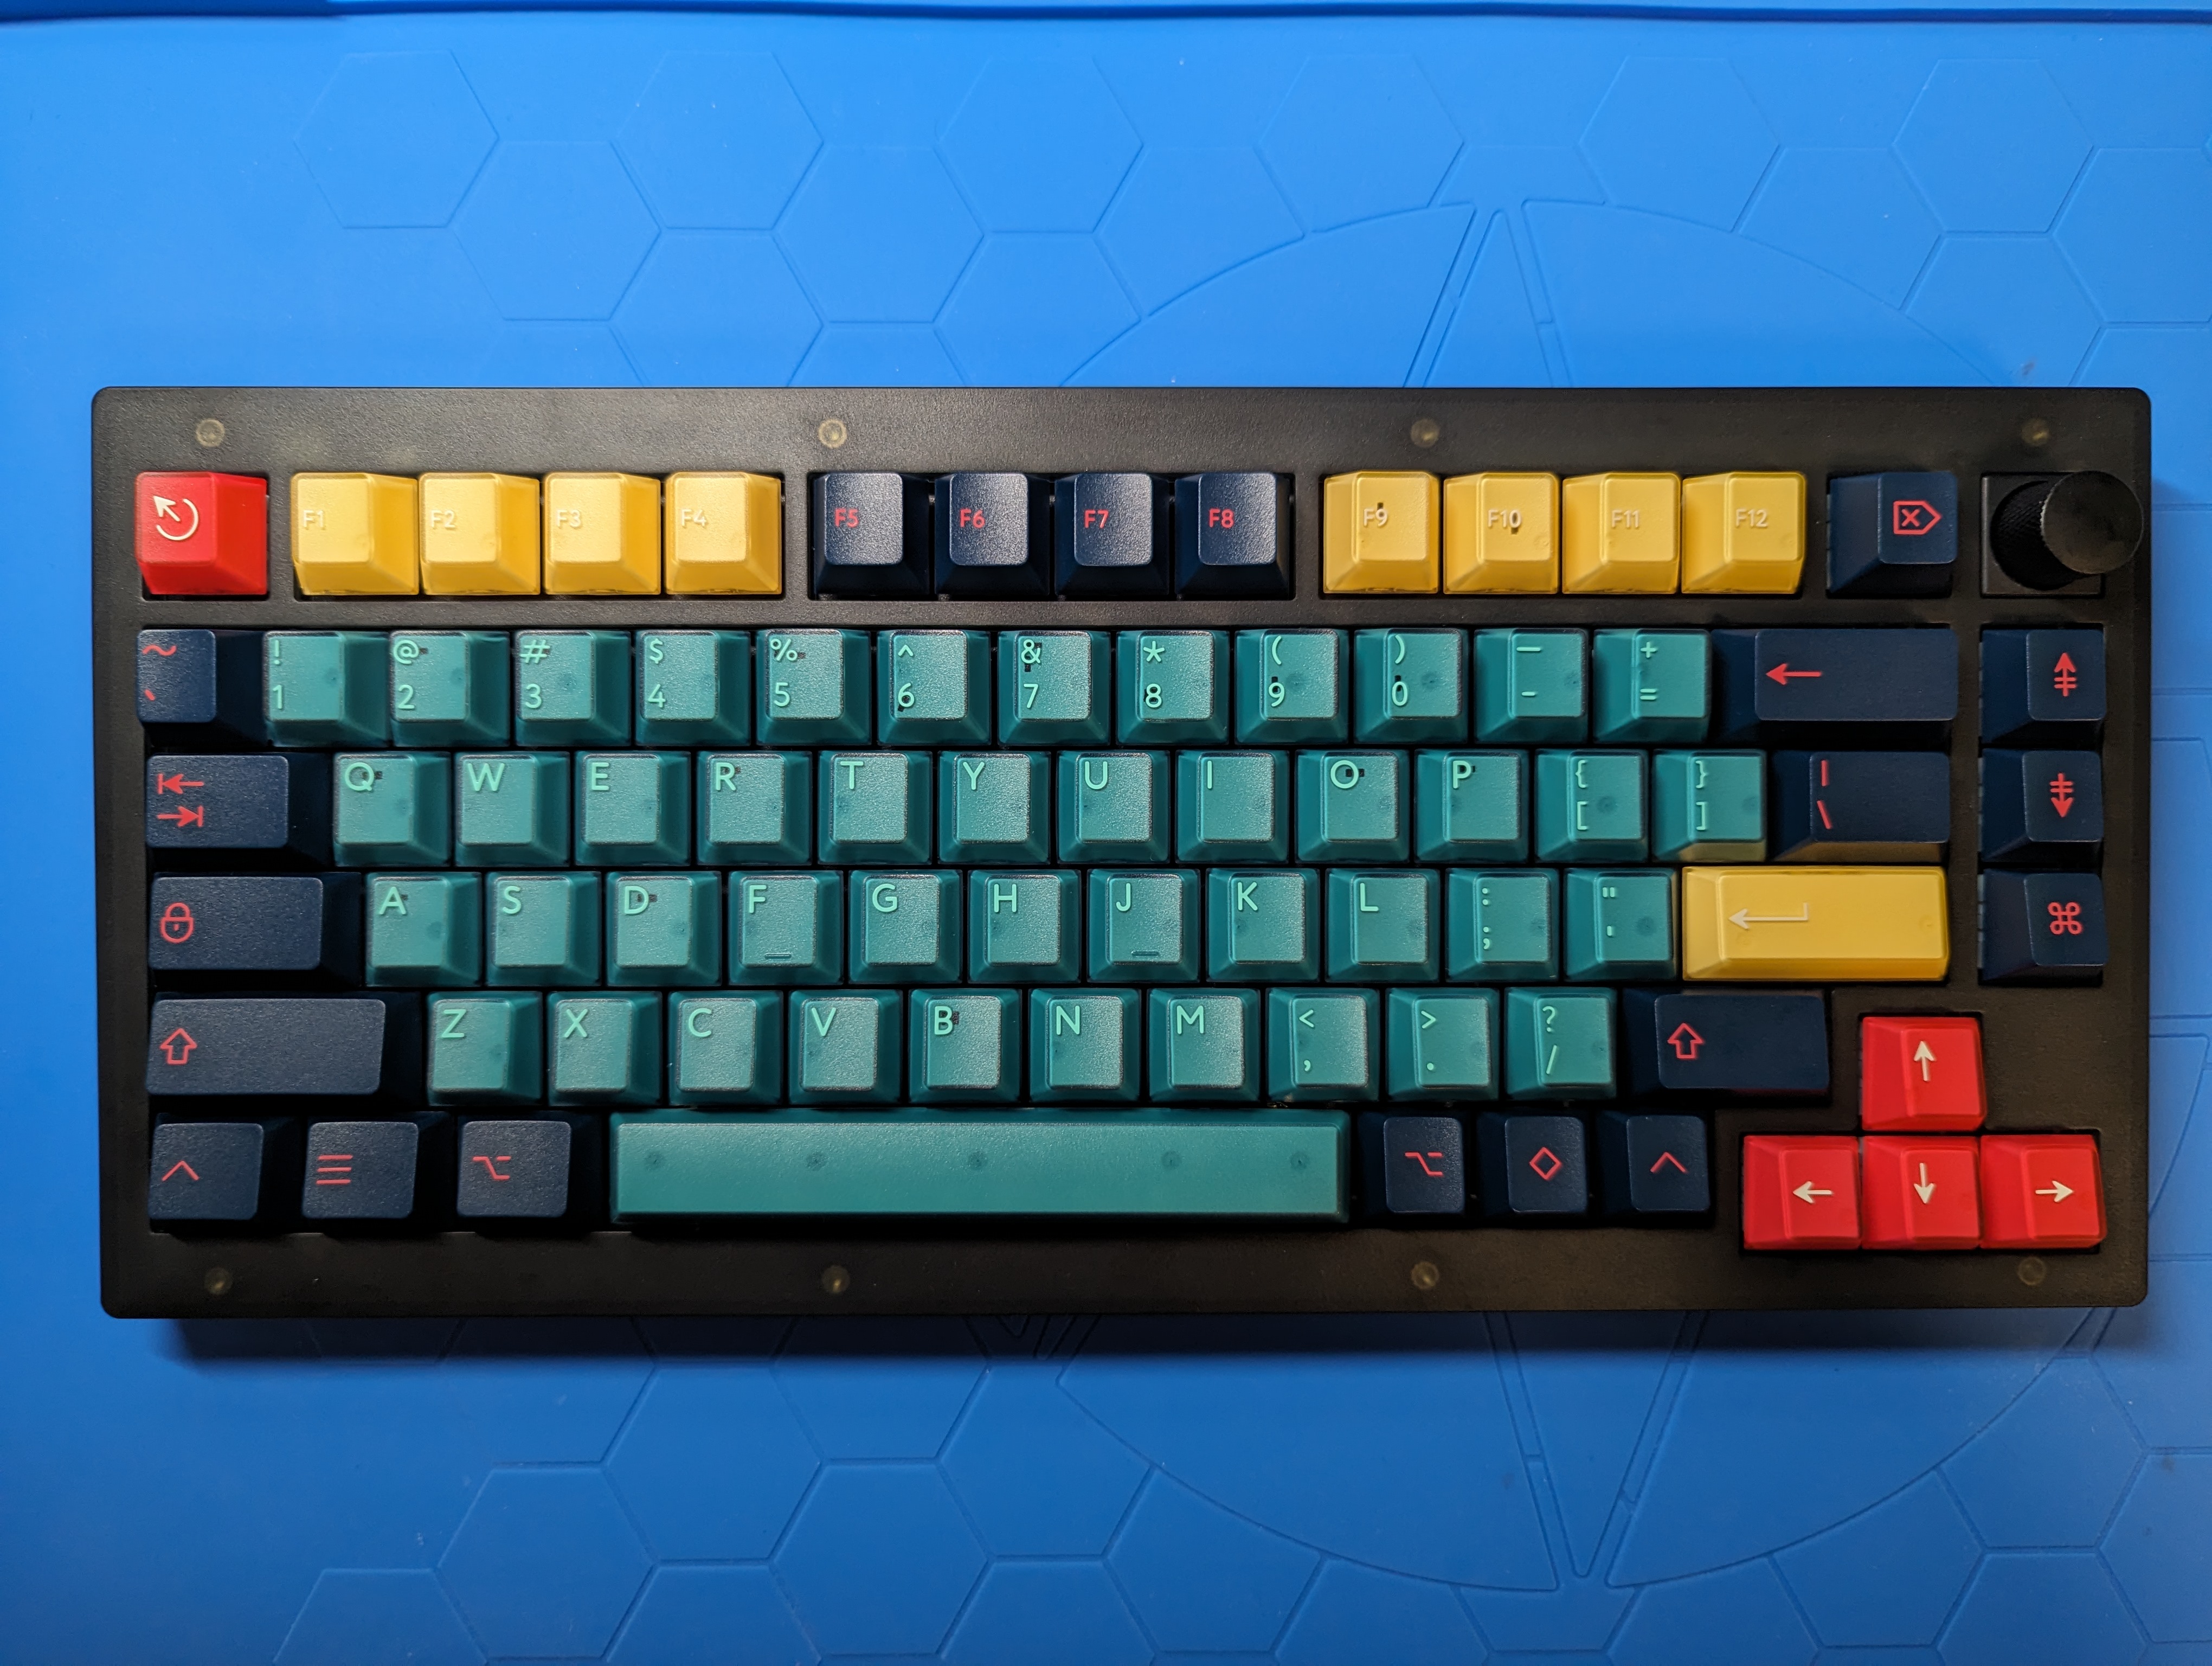
And now to pop those keycaps on! I also ended up doing the tape mod to make the keyboard sound better. I like the keyboard so far, but the keycaps interior
of resin is cracking. Not sure why it’s cracking but it looks like
it’s from the stem pushing up. I assigned the Fn key plus Home key to make it the
Insert key. I rely on the insert button a lot especially for Excel. Other than that,
I’m already use to the 75% layout.
First keyboard down, more to come?
Update
2024-06-12
After a month of using the keyboard, I still enjoy the way it sounds. The aesthetics actually made me a bit sad though.
The Kabuki-Cho R2 keycaps began to develop visible cracks on the top of a few alpha keys. At the time of writing this, I’ve counted at least 17 keys that had visible or slightly visible cracks. I do not know if it’s due to the Kailh Box Winter switches and the ABS keycap material. There were issues years ago that Box switches were stretching the keycap stems, but this should be now fixed.
I checked the stems and I did not see any signs of any wear. I reached out to KBDFans’ (where I purchased the set) chat and they handled it very well! They asked for photos of the cracks and are working on sending me replacement keys.
2024-06-24
After reaching out to KBDFans about the issue, they were able to replace a lot of the keycaps with very visible cracks on them. I received the new keycaps on either on June 17 at the end of day. June 18, I replaced the keycaps and it looked good as new!
It’s now June 24 and I started noticing cracks on top of some keys that I already replaced. Definitely going to reach out to KBDFans for additional replacement keys and retire this keycap set…
2024-08-27
Reached out to KBDFans support again around July 2024 to get replacement keycaps again. This time, I requested for more keys to replace. I had to reach out twice because I didn’t get any updates for a while. I received my key replacements on 2024-08-27. All but one key was replace. The last key that is still cracked is the right-arrow key.
I’m putting this key set to the side. I don’t think I’m going to resell it since I know the next user probably won’t be able to request replacement keys.
-LW
